Thursday, December 29, 2011

NEW YEARS NAILS! 2012

An icy winter wonderland! These are my last Christmas Nails of 2011. I had so much fun doing Christmas nails. I hope you enjoyed my pictures. It's time to start a new year. New Years nails! I hope 2012 brings some fabulous new nail art!This is a picture of the nails I did when I made my instructional videos that you can find on this blog. Love this glitter! #139 from sparklesnailproducts.com 
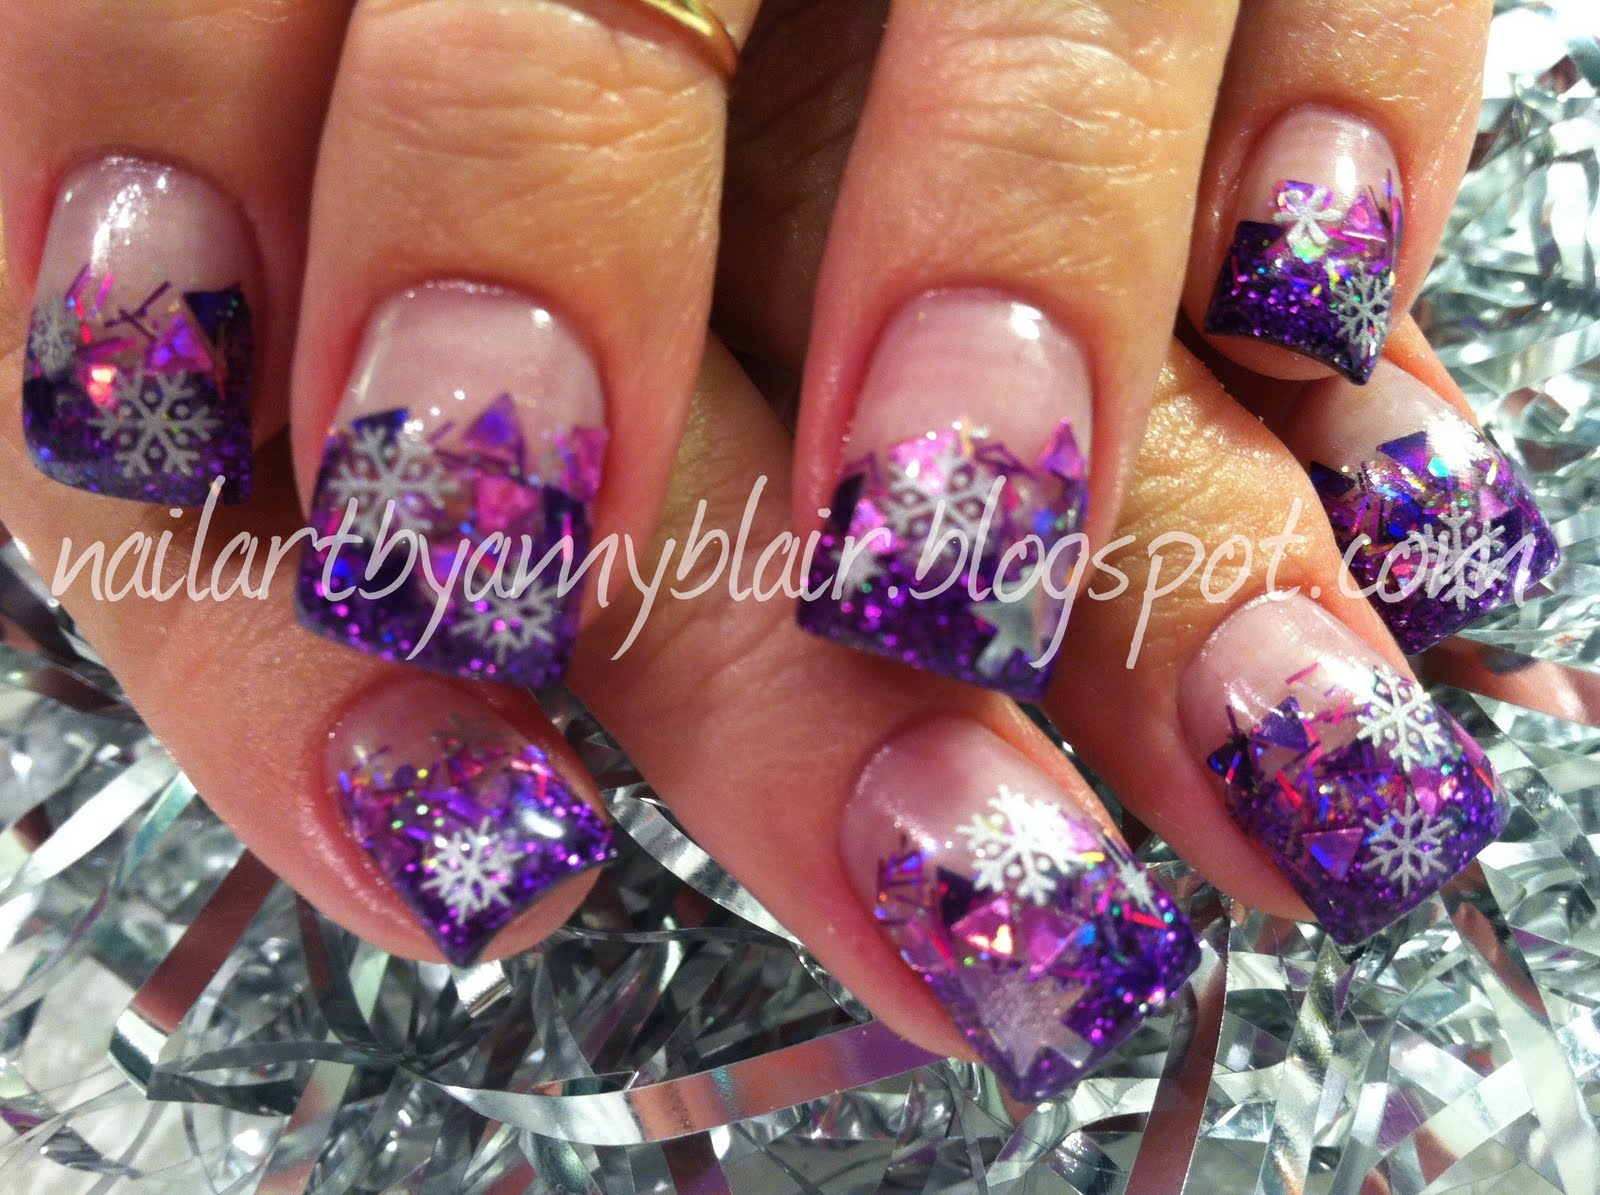
This is a warning: If you are my client and you let me do whatever I want on your nails you are pretty much guaranteed to get zebra print of some kind and purpleI am loving how the pinkies have just the solid animal print! New Years Party Time Nails! 
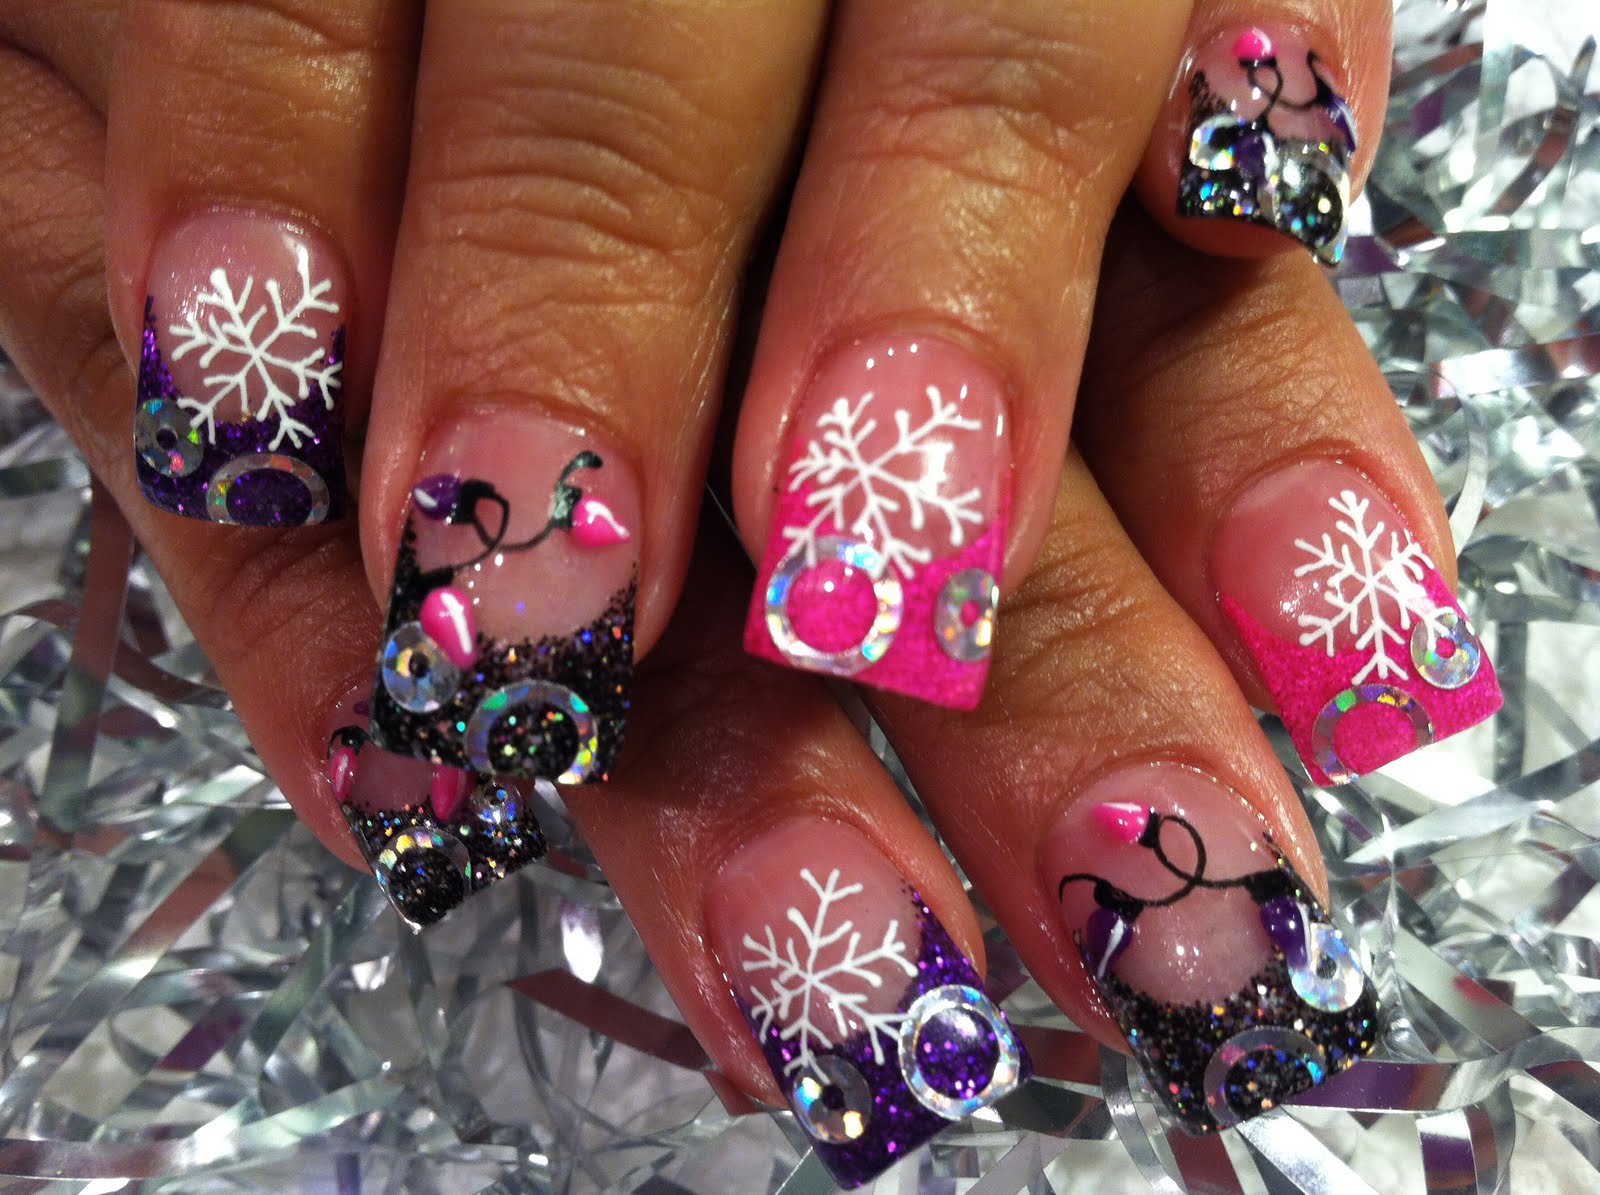
I just absolutely love this client. She is my most creative client. One day the time will be right and she will get her nail license and I will start taking classes from her! 
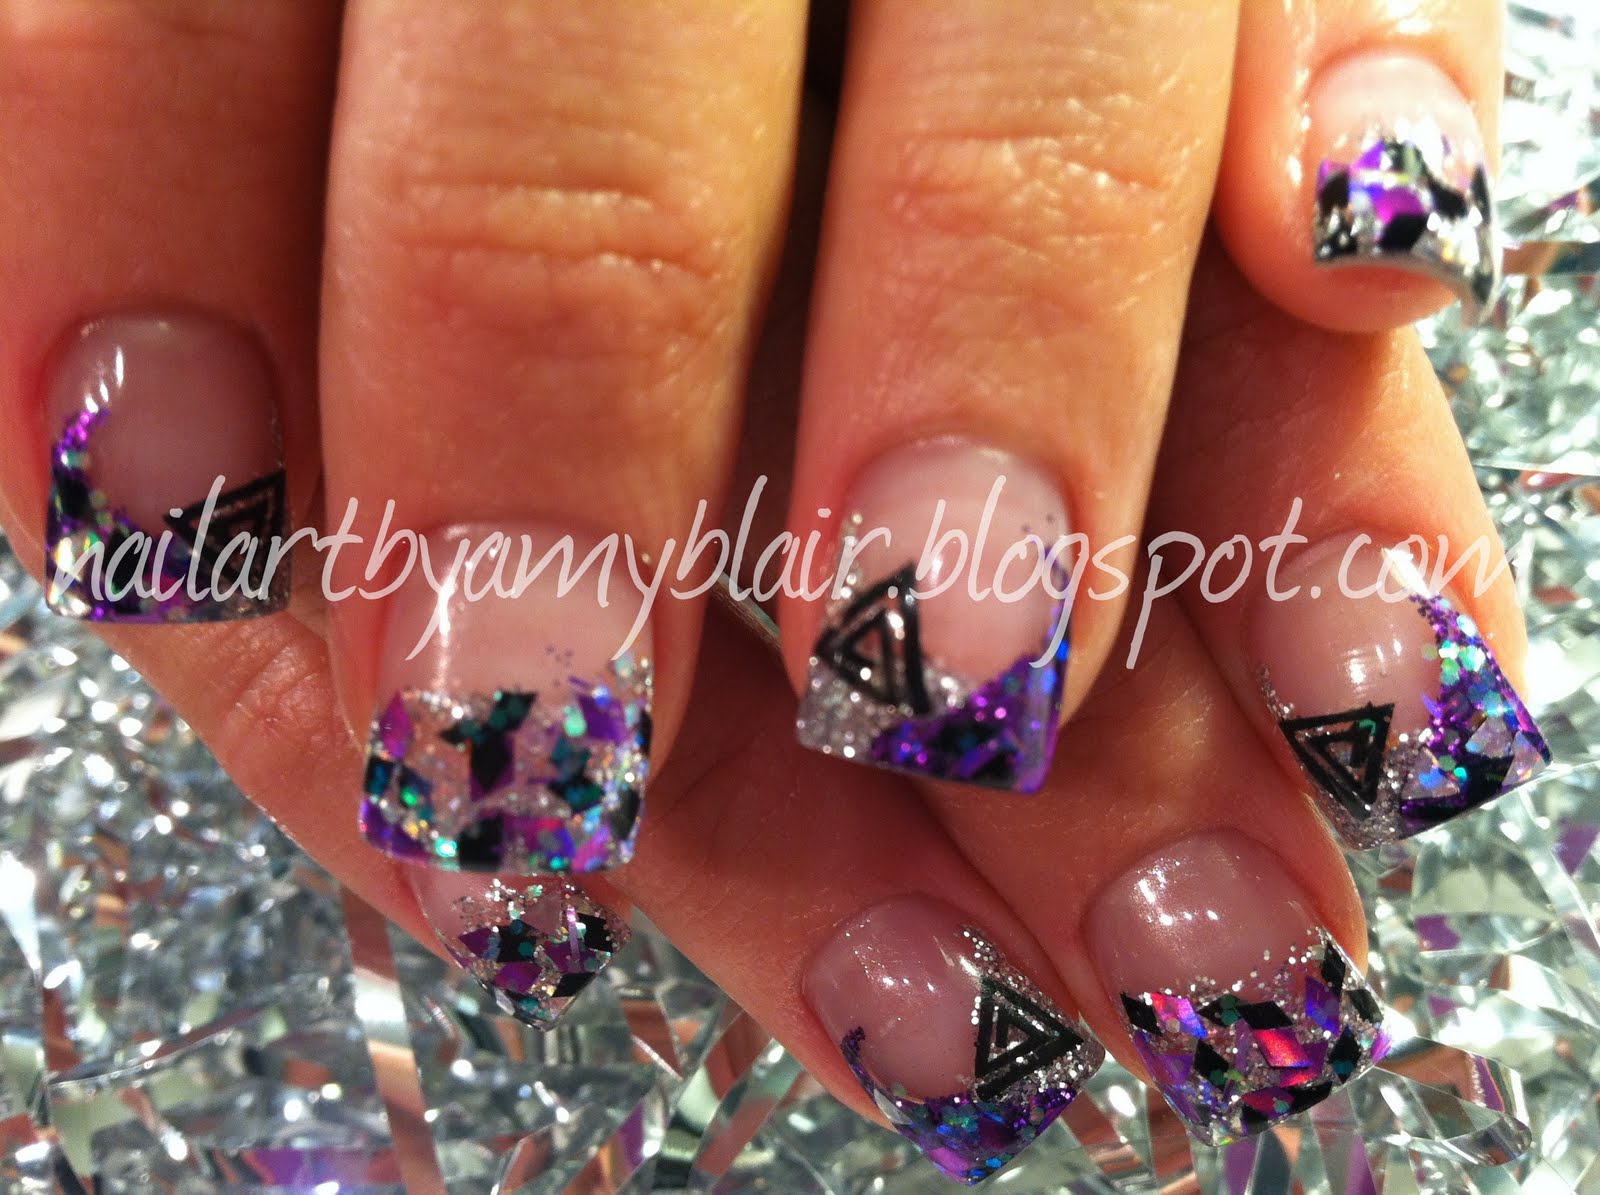
My signature one nail different nails lol!

Sunday, December 25, 2011

3D SNOWMAN ACRYLIC NAIL ART


On these nails I used acrylic from young nails block party collection in pool and from sparklesnailproducts.com I used Ocean Mist #63.
To create the snowman I used INM northern lights to create the body. For the eyes I used barbara trombley art glitter in nebula, for the carrot nose I used duck tail and for the arms I used a martha stewart brand glitter in brownstone.

HAND PAINTED SNOWFLAKE NAIL ART


On this set of nails I did a fade with acrylic from Young Nails block party collection in pool, and from sparklesnailproducts.com in ocean mist #63. I used a migi nail art pen from miginailart.com to paint the snowflake.

Monday, December 19, 2011

MERRY CHRISTMAS AND A HAPPY NEW YEAR!

This is my absolute favorite purple glitter from Barbara Trombley's art glitter called Purple Passion. I faded the same brand glitter in D58 Party Time Dazzlers and wrote "2012" on the ring fingers with a migi nail art pen.

I love these winter nails. They make winter seem a little more fun. The chunky blue glitter is #63 Ocean Mist from sparklesnailproducts.com

This is a new glitter that I am obsessed with. It is from sparklesnailproducts.com #139 Rock candy. Couldn't get enough of it so I used it on the next 3 sets of nails. I found that this particular mix was easiset to use when mixed with a little bit of clear acrylic.


These nails are an acrylic overlay. I hand painted the animal print. My client went through and picked different glitters that I had from dollarnailart.com and sparklesnailproducts.com I mixed a little of each glitter together and made her a custom glitter mix!

This glitter is also from sparklesnailproducts.com I know you are so surprised right? LOL I can't help it I love their glitter mixes. This one is #144 Tis The Season.

These nails were done completely with gel polish. I used opi Big Apple Red and gelish waterdance. I also added a little hologram glitter from Young Nails. The snowflakes are nail decals.

These nails were actually just a regular fill that I did and then I completely switched them up with fun nail art on top to make the client feel like she had a completely new set of nails.


So much fun to do every nail a little different. I try to keep it looking uniform by using the same colors. When a clothing designer makes a collection the pieces go together but they are all different. I like to use this concept when I do a set of nails.

Tuesday, December 6, 2011

MORE ABOUT YOU!!!!

I would love to gear this blog more towards YOU all of my blog readers. Please leave me a comment and let me know what you would like to hear or see more of. Also feel free to let me know what I should leave out. I certainly don't want to waste your time! Also I would like to say thanks for stopping by. I appreciate you!
On these nails I did a 3d Santa and then capped over with clear acrylic. To get the skin tone look for Santa's face I used Young Nails cover powder. The Santa was inspired by Kara the Nail Goddess. Much of my inspiration I get directly from my clients. I am very lucky to have so many amazing clients.

This silver is sparkles nail products #68 in shinedown. The tip is a gorgeous glitter I purchased at roberts craft store called Brocade. The brand name is Barbara Trombley art glitter. I mix 1 part glitter 2 parts clear acrylic.

On these nails I used a glitter from sparklesnailproducts.com #144 tis the season. I mixed it with clear acrylic. It was very easy to apply. I added a little silver at the smile line.

On these nails I did a 3d candy cane. First I outlined with a nail art pen where I wanted to place the candy cane. I used that as my guide as I applied stripes of acrylic.

On these nails I used a glitter from sparklesnailproducts.com #145 limited edition silver. It is a super cute silver with little silver balls in it and little flecks of red. I wish you could see it better. It was very easy to work with. Love it!

On these nails I used a sparkly pink on the nail beds. I use 1/2 french pink 1/2 frosted pink a little metallic red and a little crystal all from Young Nails. I used reverse application to get a crisp smile line. You can view how to do this on Youngnails.com click on get educated. I used a migi nail art pen to write "up up and away"

These are rasta nails. I used fimo clay circles from oaktreedollshouseminiatures.com. I also used impression tools from young nails to make the star and heart shape. I used acrylic to create 3d hearts on the ring fingers.

These nails were inspired by a facebook friend of mine Kara The Nail Goddess. She is so inspiring!

Wednesday, November 30, 2011

UNTRADITIONAL CHRISTMAS NAIL ART

Sometimes I just tell a client to pick all of the glitters they like off my desk and then I mix a little of each one together and voila, fabulous nails! I love how this glitter pops against the white. This white is Northern Lights from INM.

Bah humbug! This client was not in the mood for Christmas Nails. LOL

These little swirls are from nailsgallerysupply.com When I do a smile line on the nails I use reverse application. You can view a video of how to do this through youngnails.com click on get educated.

To do this 3d Christmas character I first use green acrylic to shape the face, then I hand paint the red hat, I use a little white acrylic to put on a collar and fluff on his hat. Then I outline the hat using a nail art pen and add the details on his face.


I found that the easiest way to do the 3d candy cane is to first make an outline of where you want it with a nail art pen. Just follow the outline and cover the line just slightly as you go. On the penguin I used white acrylic for the body. The other details are hand painted with a small paintbrush I purchased from a craft store.

Just because it's Christmas doesn't mean you have to do red, green and white. I love the twist of using pink, purple, and black!

These nails were inspired by a piece of scrapbooking paper. I got the silver trees from sparklesnailproducts.com. I put a little green and gold tinsel/glitter on top of the green. It is from a martha stewart glitter collection.

Sunday, November 27, 2011

CHRISTMAS LIGHTS NAIL ART

I picked up a few sequins at Hobby Lobby the other day and voila! Christmas nail art. I applied red acrylic then I painted white stripes with a striping brush, then I capped in clear. I like Young Nails clear because it doesn't cloud at all. It is the clearest clear out there!

The pink nail bed on these nails is a mix of 1/2 french pink, 1/2 frosted pink, a little mettalic red and crystal glitter all from Young Nails.

The silver background on these is from sparklesnailproducts.com. I heard they are having a sale on Monday so check it out! I painted the black string with a nail art pen from miginailart.com and did the purple and green lights 3d with acrylic.

Thursday, November 24, 2011

CHRISTMAS NAILS 2011

This is a 3d bow I created with acrylic.

These snowflakes are fimo clay from kennickkreations.com

I love these candy canes. They are fimo clay from oaktreedollshouseminiatures.com


This is a Christmas grinch I created with acrylic and paint. Let me know if you like it and if you would be interested in seeing a video on how to create the grinch :)


Sunday, November 20, 2011

MORE NAILS AS PROMISED!

I hope you enjoy looking at my latest nail pics. If you have any questions on how I did any of these nails or where I purchase specific products just leave a comment and I will respond as soon as possible. Thanks for checking out my blog and enjoy!